How to Split Screen on Mac: Use this simple trick to multitask and boost productivity.
If you’re a multitasker, you might have numerous tabs, browsers, and applications open at once. In fact, your present screen is most likely cluttered with Chrome, Safari, Spotify, and other apps.
When you’re in the middle of a project, the last thing you want to do is switch between open windows. You can lose your place or forget what you were doing in the first place. While you may manually move windows to match your screen, there is a simpler way to multitask.
Here’s how to configure split view on a Mac.
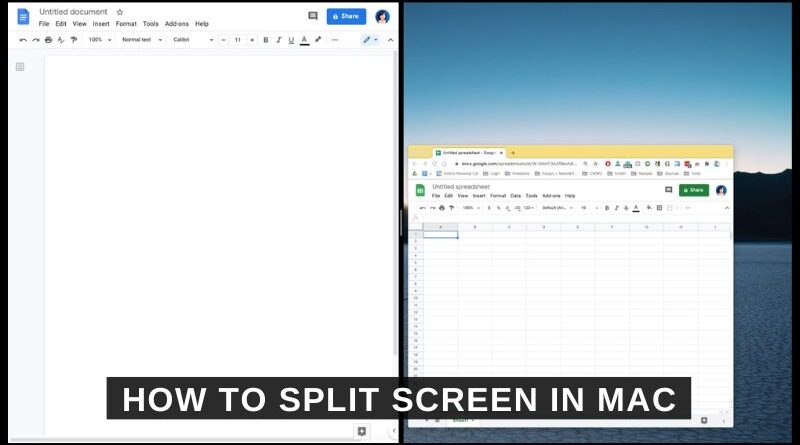
How to Make a Split Screen on a Mac
Move your pointer to the green dot in the top-left corner of the window once you’ve opened your favorite applications and browsers. You will be presented with three options:
“Enter Full Screen”
“Tile Window to Left of Screen”
“Tile Window to Right of Screen”
For your selected window, select the left or right option. It will then be moved to the appropriate side of the screen.
The remaining windows will be displayed on the other side. Choose the one you wish to see by clicking on it. That window will be tiled to the other side of your screen.
When you utilize split view, your Mac creates a new desktop space. Other things that are open will not be closed. To access them, swipe three fingers across your trackpad or click “Mission Control” on your keyboard or control strip.
Multiple split views can be opened at the same time.
To switch between windows in split view, move your pointer back to the green dot. It will present you with three additional options:
“Replace Tiled Window”
“Move Window to Desktop”
“Make Window Full Screen”
Select the option “Replace Tiled Window.” You can then replace the current one with any others that are open on the original desktop.
Select “Move Window to Desktop” and close the final window by clicking the green dot to leave a split view.